Installing the app on your Salla store — screenshots
A picture-by-picture walkthrough of installing the connector from the Salla App Store. The narrative version is on "Installing the app on your Salla store".
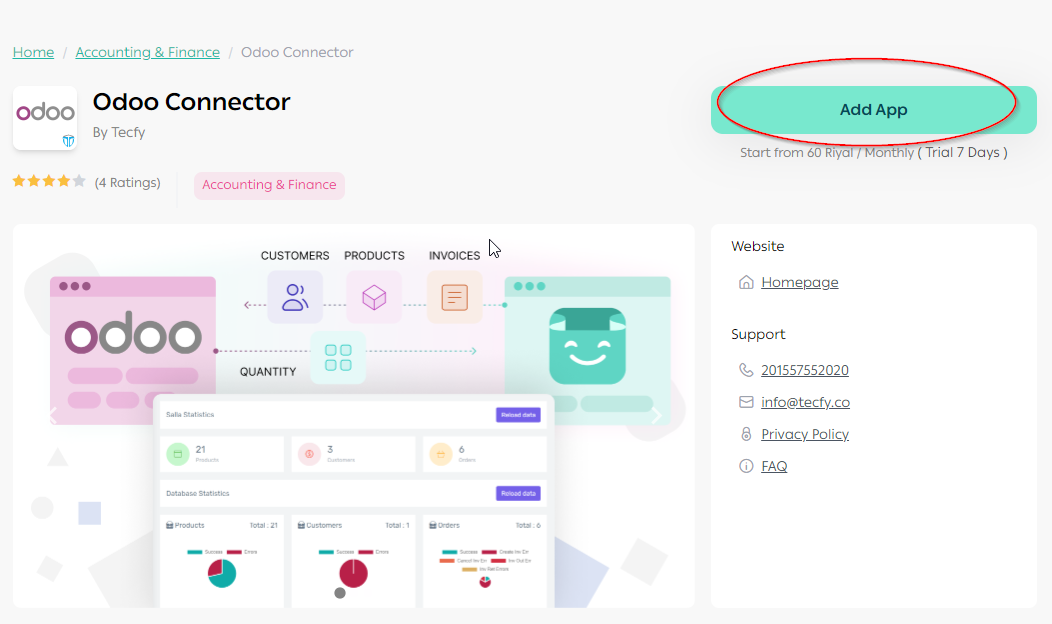
1The app page in the Salla App Store
Open the Odoo Connector listing while signed in to your store.
2Sign out of the dashboard first if you used it for another store
The dashboard is at: https://salla.tecfy.co
3Press the add-app button
Press the add-app button on the app page in the Salla App Store.
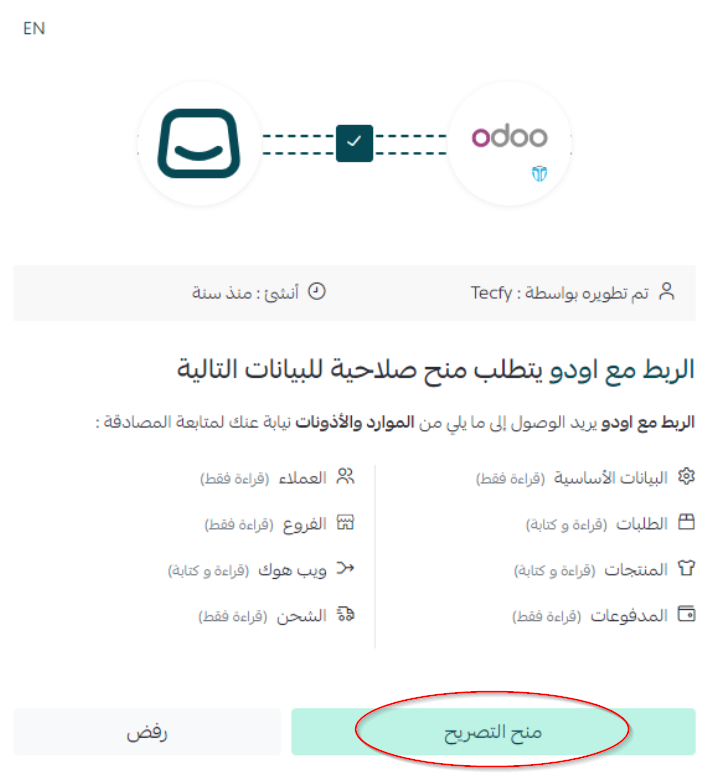
4Press Grant access
Grant the app access so it can read your orders and products and update your store quantities.
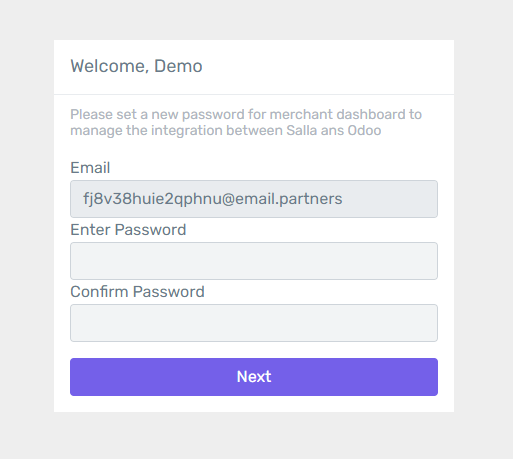
5Choose a password for the Integration Dashboard
This password is for the Integration Dashboard alone; it is neither your Salla password nor your Odoo password.
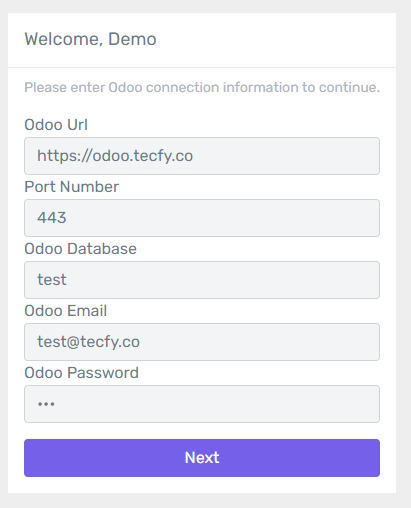
6Enter the sign-in details for your own Odoo database
Enter your Odoo URL, database name, port, email, password and version.
7If you have no Odoo sign-in details
You can create a trial database on Odoo's own servers at: https://www.odoo.com/trial
Or contact us about a paid or free Odoo offer.
8Saving the connection
Once the details are entered, save so the lists are read from Odoo.
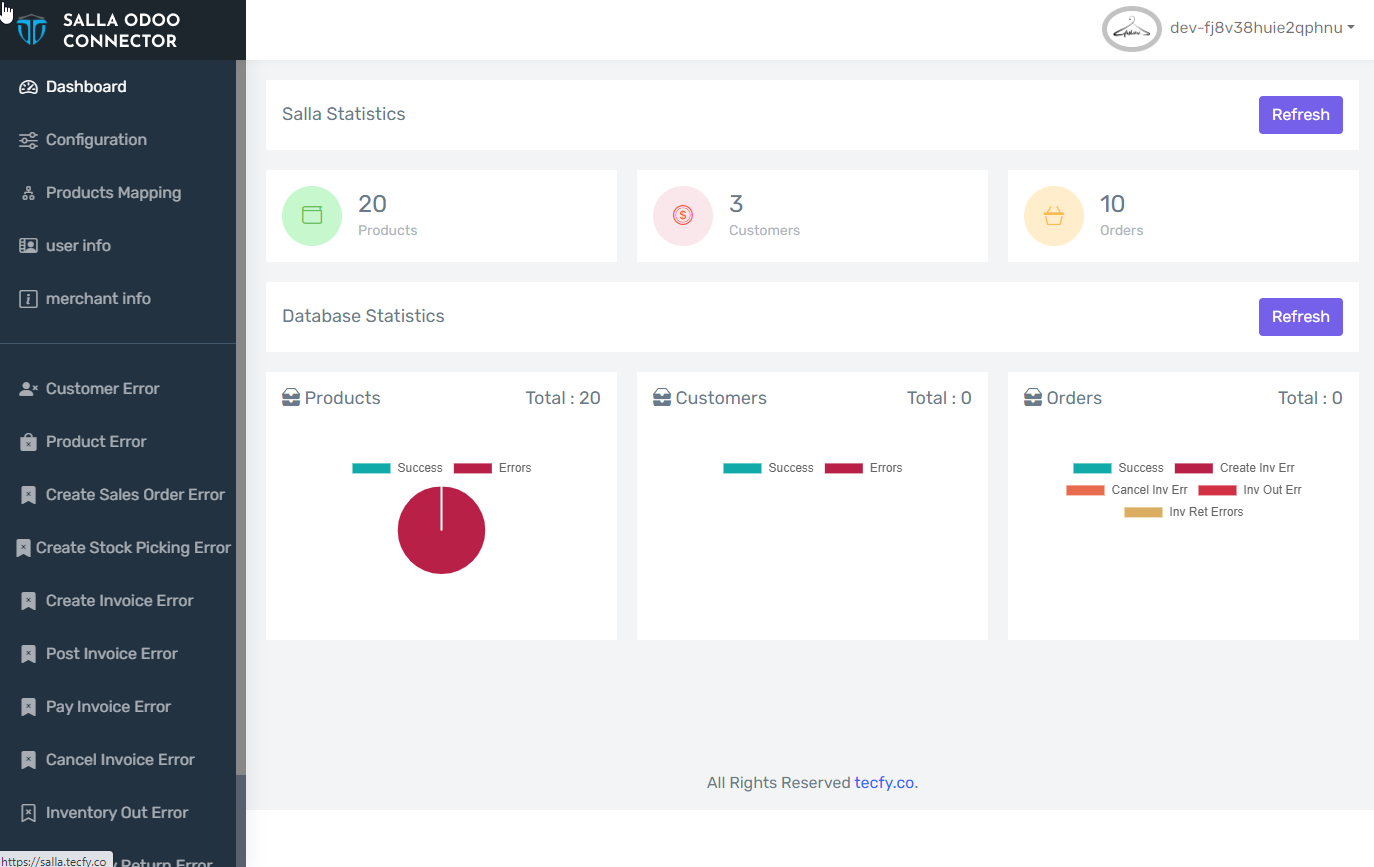
9Installation complete
The connector is now installed on your Salla store.
Next comes configuration:
- The first-time setup checklist, in order: /en/docs/salla/salla-start/salla-start-checklist
- Connecting Odoo: /en/docs/salla/salla-setup/salla-setup-connection
- The Status tab, the single most important setting: /en/docs/salla/salla-config/salla-config-status