Using an error screen
The mechanics shared by all fourteen error screens. Read this once, then go to the screen you need.
One screen per step
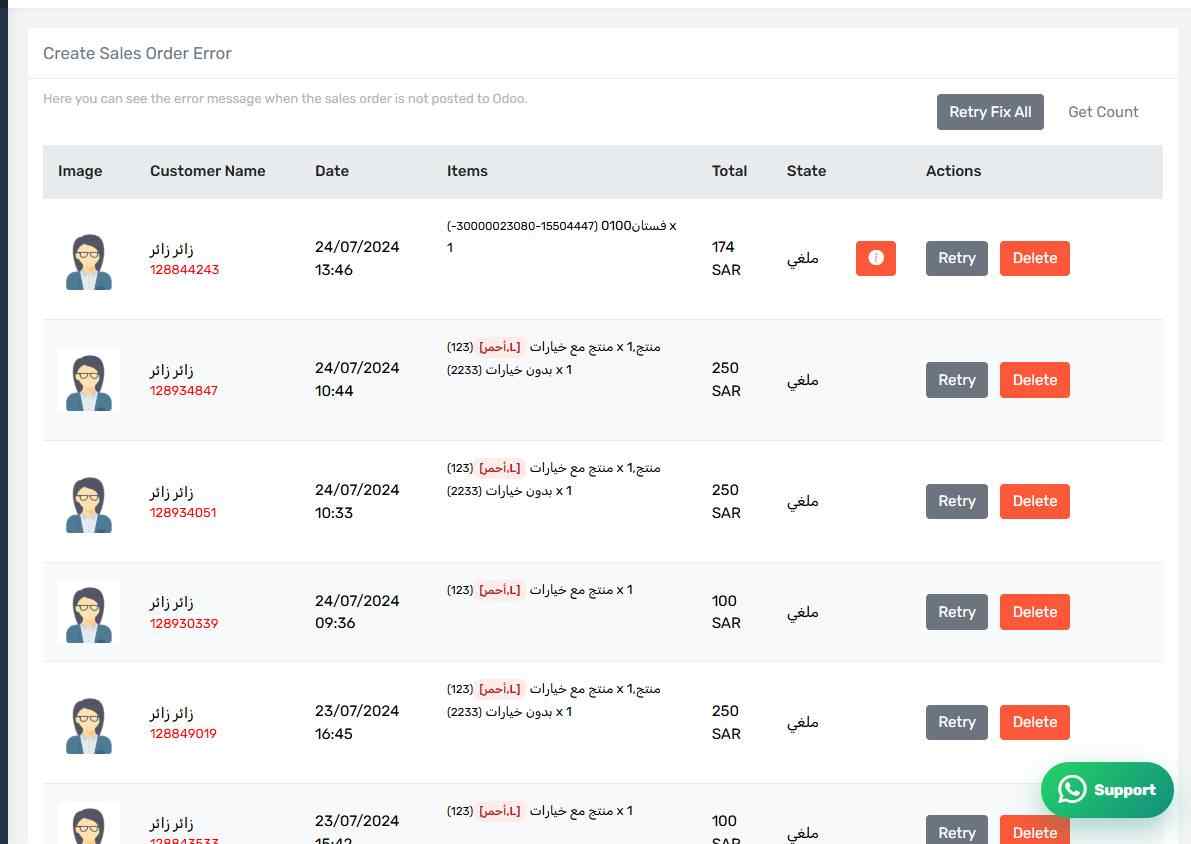
Every step in the order pipeline has a screen listing the orders that failed at it. The screens all share one shape and one set of buttons; only what they list and why it fails differs.
The shape of an error screen
How the screen appears in the Integration Dashboard.
Read the error message
The most important column is the error message, which comes from Odoo itself. It is not a connector message but Odoo's literal text, and it usually names the missing field or setting. Do not guess before reading it.
The buttons
- Retry — one row, after fixing its cause.
- Retry Fix All — every row, after fixing a shared cause.
- Get Count — totals the rows, because the screen loads in batches.
- Load More — fetches the next batch.
Fix first, then retry
Retrying fixes nothing by itself; it only runs the step again. If you have not fixed the cause you get the same error and have wasted the time.
The blue banner
Retry Fix All is a long background job with a blue banner showing the order being processed. You can stop it with Cancel the process. Do not start another job before it finishes.
Check them weekly
The connector does not retry on its own. A failed order sits on its screen indefinitely unless you act. Make reviewing these screens a weekly habit at least, or you will discover at month end that a lot of invoices were never raised.
The order to work in
Always start with Customer Error and Product Error: they cause most of what appears on the other screens. Then work down the pipeline: sales order, invoice, payment.